Our Blog

by Admin
|

Dec 22, 2025
Checklist for Streak-Free Window Cleaning
Achieving streak-free windows is simpler than you think. With the right tools, proper techniques, and a few insider tips, you can get professional-level results at home. Here's what you need to know:
- Essential Tools: Use a rubber squeegee, microfiber scrubber, lint-free cloths, and distilled water for the best outcome. Skip paper towels - they leave lint behind.
- DIY Cleaning Solutions: Mix distilled water with white vinegar or mild dish soap. Avoid ammonia-based products to prevent residue.
- Timing Matters: Clean windows on overcast days or during cooler parts of the day to avoid streaks caused by quick-drying solutions.
- Prep Work: Dust and vacuum window frames, tracks, and screens before cleaning the glass to prevent smudges.
- Squeegee Technique: Hold the squeegee at a 30-degree angle, overlap strokes, and dry the blade after each pass for a spotless finish.

5-Step Process for Streak-Free Window Cleaning
The Secret to STREAK-FREE WINDOW CLEANING
Tools and Supplies You'll Need
Having the right tools can mean the difference between streaky smears and a perfectly clear finish. Luckily, you don’t need a stockpile of supplies - just a handful of quality tools and the proper cleaning solution. These essentials will set you up for success as you follow the cleaning steps ahead.
Equipment Checklist
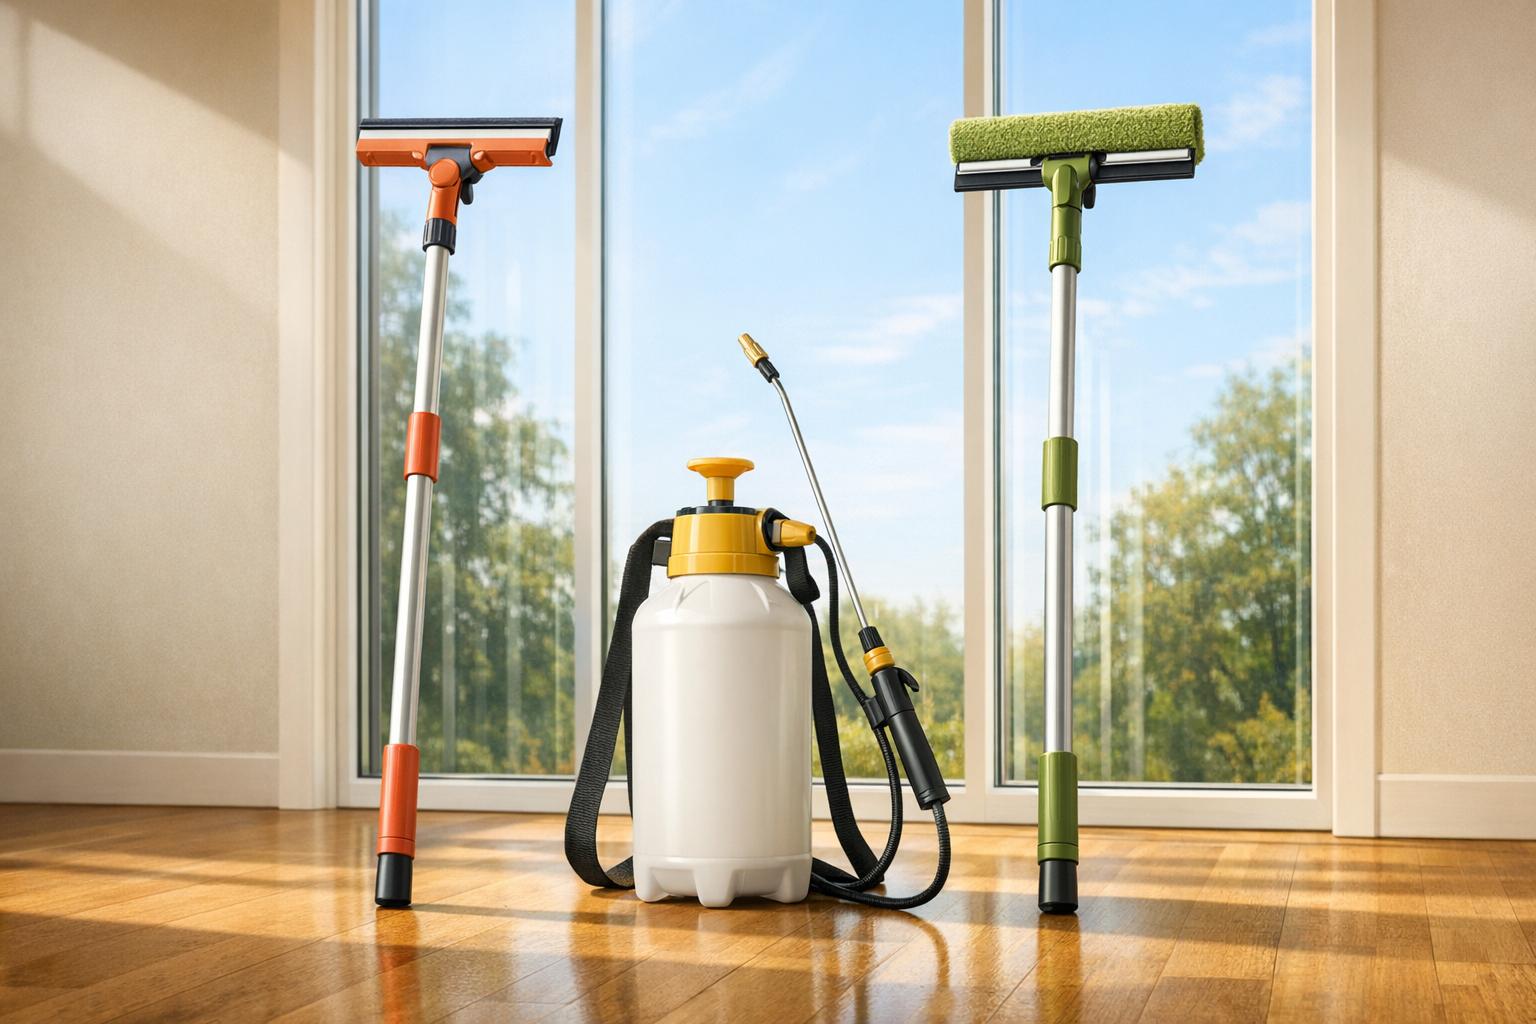
The key to streak-free windows lies in three must-have tools: a high-quality rubber squeegee (10–12 inches wide), a window scrubber with a microfiber sleeve, and lint-free microfiber cloths. These are the go-to tools trusted by professionals for a flawless finish.
"A quality window squeegee is the cornerstone of any window cleaner's toolkit!" - Magic Window
Skip the paper towels - they leave behind lint and fibers that ruin your hard work. For stubborn spots, keep a professional glass scraper with a sharp blade handy. Just make sure the glass is wet to avoid scratches. A bucket for your cleaning solution and a vacuum with a brush attachment are also essential for cleaning frames and tracks.
Pro tip: Use distilled water to prevent mineral spots from forming on your glass.
Once your tools are ready, it’s time to pick the right cleaning solution.
Selecting Your Cleaning Solution
Stick to ammonia-free solutions to avoid leaving behind a film that attracts dust and moisture. Two simple homemade options work wonders:
- A 50/50 mix of distilled white vinegar and water
- A few drops of mild dish soap in distilled water
The vinegar solution is great for cutting through grime, film, and salt residue, while the dish soap mix breaks down grease and helps your squeegee glide effortlessly. For a streak-free mix, combine 1 gallon of distilled water, 1 cup of white vinegar, and 1–2 drops of dish soap.
For tougher spots like mineral deposits or grease, apply rubbing alcohol or a stronger vinegar-water mix directly to the area. Want to mask the vinegar smell? Add a few drops of lemon essential oil for a fresher scent.
Now that your solution is ready, let’s talk about timing.
Best Time to Clean Windows
When you clean your windows matters more than you might think. The best time is on overcast days or during cooler parts of a sunny day - early morning or late evening - when the glass stays cool.
"Clean windows when it is cool, like in the morning or on a cloudy day, to avoid streaks." - Craig Thomas, Virtual Handyperson Expert, Frontdoor
Direct sunlight heats the glass, causing your cleaning solution to dry too quickly and leaving behind streaks or mineral deposits. If the glass feels hot to the touch, wait for cooler weather. Also, avoid cleaning right after rain or on freezing days unless you’re using an additive like windshield washer fluid to prevent your solution from freezing.
Pre-Cleaning Preparation Steps
Before diving into cleaning your windows, it’s essential to prep the surrounding areas. Dust and debris can mix with your cleaning solution, creating a muddy mess that leads to streaks and even scratches on the glass.
"Dust and dirt buildup in your window tracks and frames can smear when cleaning. When combined with waxy paper towels and mediocre cleaner, it can leave behind a streaky disaster." - Ashlyn Needham, The Spruce [2]
Always clean from the top down. Start with the frames and tracks, move to the screens, and leave the glass for last. This method ensures you don’t undo your hard work by transferring dirt back onto freshly cleaned surfaces.
Clean Frames, Tracks, and Screens First
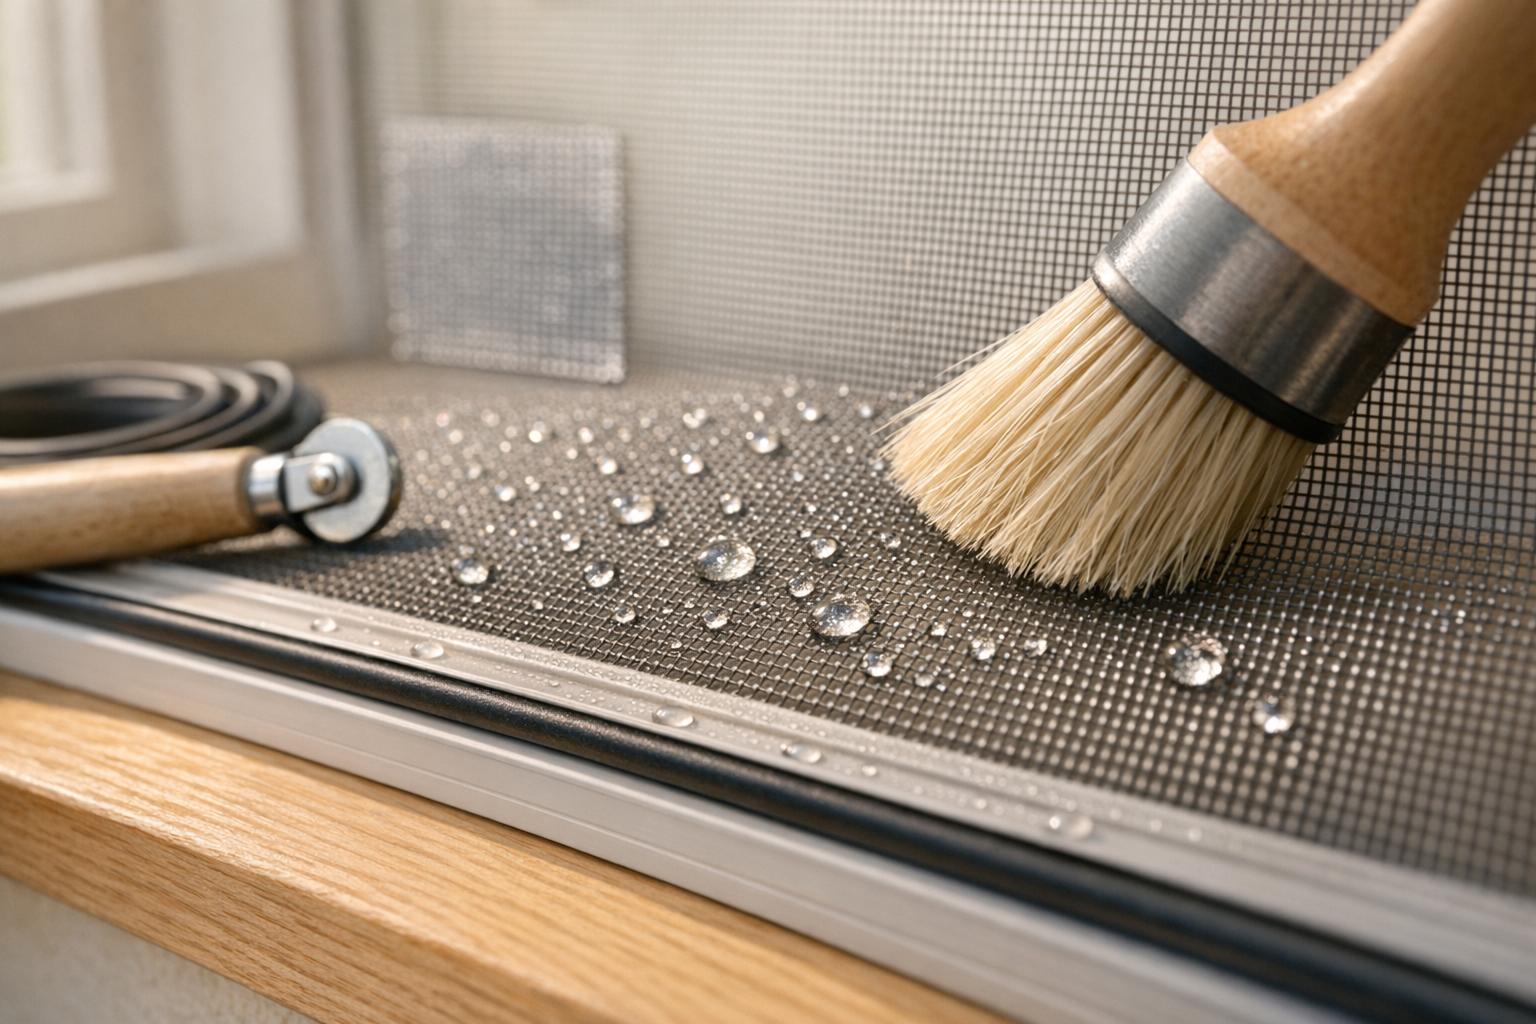
Start by dry dusting all surfaces. Use a vacuum with a brush attachment or a soft brush to get rid of dust and cobwebs from the frames, sills, and tracks.
For window tracks, spray a 50/50 vinegar-water mix directly onto the tracks. Let it sit for 10–15 minutes to loosen dirt, then scrub with an old toothbrush to reach tight corners. Wipe everything clean with a damp microfiber cloth.
When it comes to screens, vacuum them with an upholstery brush attachment to lift off surface dust. If the screens are greasy - especially in kitchen areas - use warm, soapy water and a soft brush to scrub them gently. Rinse thoroughly and let them dry completely before reinstalling. To prevent dirt from transferring back onto the glass, remove the screens entirely before cleaning the windows.
For most frames, warm, soapy water works well. However, skip the vinegar if you’re cleaning wood, natural stone, or delicate hardware to avoid damage. On aluminum frames, rinse with clean water after washing to prevent corrosion.
Once the surrounding areas are spotless, it’s time to tackle any stubborn stains on the glass.
Treating Stubborn Stains
With the prep work done, focus on removing tough spots from the glass.
For hard water stains, bird droppings, or sticky residue, spray a 50/50 vinegar-water solution directly on the affected area. Let it sit for about 30 minutes to loosen mineral buildup. If the stain persists, dampen a microfiber cloth with rubbing alcohol, acetone, or mineral spirits, and rub gently, keeping the area wet as you work.
"Never use a razor blade to scrape them off. This can cause permanent scratches to the glass." - Pella Windows and Doors [3]
For stubborn buildup on window frames, apply mineral spirits or a cleaning solution like Pine-Sol with a clean, dry cloth. If hard water is a recurring problem in your area, consider using distilled water in your cleaning mixtures to reduce future mineral spots. Always wear gloves and ensure proper ventilation when working with solvents.
Taking these steps ensures your glass is prepped for a streak-free finish during the final cleaning.
How to Clean Glass Without Streaks
Once you've completed the initial cleaning, it's time to focus on techniques that ensure a streak-free finish. The secret lies in controlling how much cleaning solution is applied and ensuring it's completely removed before it dries.
Applying the Cleaning Solution
Avoid spraying cleaner directly onto the glass. Instead, apply the solution to a microfiber cloth or scrubber. This prevents excess liquid from dripping onto frames and drying unevenly.
"Spray your glass cleaner directly to the microfiber cloth, instead of spritzing the window itself. This can help prevent the cleaning solution from getting on your window frames." - Chelsea Kuhel, Pella [3]
A microfiber scrubber or T-bar is ideal for spreading the solution evenly. If you're cleaning indoors, make sure to wring out the scrubber well to avoid drips on woodwork or floors. Use a zig-zag motion, starting at the top and working your way down, to ensure the entire surface is covered.
It's best to clean glass when it's cool to prevent the cleaning solution from evaporating too quickly. Once the solution is applied, move on to removing it completely with a squeegee.
Using a Squeegee Properly
For streak-free results, hold the squeegee at a 30-degree angle against the glass.
Start by creating a dry edge: tilt the squeegee so only one corner touches the glass, then pull it down to clear a narrow vertical strip along one side. From there, work across the window in smooth, steady strokes, overlapping each pass by 1 to 2 inches to avoid leaving water lines.
After each stroke, wipe the rubber blade with a lint-free cloth to keep it dry and prevent streaks. If the blade shows signs of wear, flip it to use the other edge or replace it altogether for the best results.
Buffing for a Clear Finish
Once you've used the squeegee, a thin film of moisture may remain near the edges or in corners. Use a dry microfiber cloth to wipe these areas, ensuring all residual moisture is removed. Buff in small circular motions to tackle any leftover streaks, then finish with long horizontal and vertical swipes for an even shine.
Switch to a fresh, dry section of the cloth as soon as it becomes damp to avoid spreading residue. For a professional touch, clean one side of the glass with horizontal strokes and the other with vertical strokes - this makes it easy to spot which side any streaks are on.
For an extra-polished look, try using a coffee filter or a clean chalkboard eraser to buff the glass.
"For a flawless finish, run a clean chalkboard eraser gently over the window to buff away marks." - Bob Vila [5]
sbb-itb-4ae7296
Cleaning Screens and Frames
Once you've tackled the glass, it's time to shift your attention to the screens and frames. These areas often collect dirt and grime that can transfer back to the glass or affect window functionality if left unchecked.
Vacuuming and Washing Screens
Start by vacuuming the screens using an upholstery brush attachment. This step removes loose dirt and debris, making the cleaning process easier and preventing dry grime from turning into a muddy mess when water is introduced.
For washing, mix a small amount of mild dish soap with warm water in a bucket. Carefully remove the screens and lay them flat on a tarp or another supportive surface. This helps protect the mesh from bending or stretching. Use a soft-bristle brush to scrub in gentle circular motions, then rinse thoroughly with warm water or a garden hose. Allow the screens to dry completely before reinstalling them to avoid trapping moisture.
Wiping Down Frames and Tracks
For the tracks, spray a mixture of equal parts white vinegar and warm water directly onto the area. Let it sit for 10 to 15 minutes to loosen dirt and grime. Then, scrub with an old toothbrush to reach into the grooves effectively.
When cleaning frames, use a microfiber cloth dampened with warm, soapy water. Instead of spraying the solution directly onto the frames, apply it to the cloth to avoid drips that could damage wooden sills or stain finishes. Dry the frames thoroughly to prevent residue or water damage. For tight corners or hard-to-reach spots, a cotton swab or soft toothbrush works wonders.
If you encounter tough stains on the frames, try using mineral spirits or Pine-Sol on a clean, dry cloth. However, steer clear of abrasive cleaners - they can harm the finish. Regularly cleaning the frames not only keeps them looking neat but also gives you a chance to check for drafts or other potential issues with the window seals.
Final Inspection and Professional Options
Checking for Missed Spots
Take a close look at the window from multiple angles under consistent lighting to catch any hidden smudges. Overcast days or shaded conditions work best for this task, as uneven lighting can make streaks harder to spot. Walk around and observe how the light interacts with the glass to ensure a thorough inspection.
Pay special attention to the edges and corners where water tends to linger. Use a dry microfiber cloth to gently wipe along the perimeter, removing any leftover moisture. If you notice streaks, try cleaning one side of the glass horizontally and the other vertically - this trick helps pinpoint which side of the window needs more attention based on the streak's direction.
For stubborn streaks, avoid adding more cleaner right away. Instead, rinse and dry the window again. If you notice a foggy or hazy appearance between the panes, it’s likely due to a failed window seal rather than surface dirt. This issue may require professional repair to resolve.
A final inspection not only ensures your windows are spotless but also helps you determine when it’s time to call in the experts. If streaks remain despite your best efforts, professional help might be the way to go.
Professional Window Cleaning Services
When dealing with hard-to-reach windows or persistent streaks, professional cleaning services can provide a polished, streak-free finish. Companies like Window Cowboy use advanced tools and techniques to deliver results that last.
Professional services are particularly helpful for second-story windows, skylights, or any areas where using a ladder could be risky. They’re also ideal if you’ve struggled to remove streaks on your own or if your home is exposed to environmental challenges like coastal salt spray or heavy pollen. Serving Charlotte, NC, and nearby areas, including parts of South Carolina, Window Cowboy offers licensed and insured professionals who handle everything with care and precision. The window cleaning industry is expected to grow by 10% by 2028, reflecting the increasing demand for expert services [1].
Conclusion
Achieving streak-free windows requires the right preparation, reliable tools, and consistent technique. Start by clearing dust and debris from frames and sills before applying any cleaning solution. Once everything is prepped, focus on using a steady, precise method. A high-quality squeegee paired with overlapping strokes is key to avoiding water marks. As Marla Mock, President of Molly Maid, explains:
"A squeegee provides the best overall clean... as it removes excess liquid efficiently and leaves windows crystal clear" [4].
Timing also matters. Choose overcast or cooler days to prevent rapid drying, which can lead to unsightly mineral deposits. For a cleaning solution, a simple mix of distilled water and white vinegar often works better than many commercial products, which might leave a sticky residue on your glass [1][3].
If your DIY efforts don’t deliver the results you want, professional window cleaning services can be a smart option. For example, companies like Window Cowboy in Greater Charlotte, NC - including areas like Lake Norman, Mooresville, Hickory, Rock Hill, and Lake Wylie - use advanced techniques to safely clean even the hardest-to-reach windows. With the window cleaning industry expected to grow by 10% by 2028 [1], more homeowners are turning to experts for reliable and lasting results.
Regular cleaning - about twice a year - not only keeps your windows spotless but also helps protect your investment. The time you invest in proper preparation and technique today ensures clearer views and fewer streaks down the road.
FAQs
Why is distilled water better for streak-free window cleaning?
Distilled water is a game-changer for streak-free window cleaning. Since it’s free of minerals and impurities, it won’t leave behind those annoying hard-water spots or streaks that tap water often does. Even better, it helps keep your cleaning tools in top shape by preventing mineral buildup, so they stay effective longer. Pair distilled water with the proper tools and techniques, and you’ll have windows so clear, they’ll practically sparkle.
Why shouldn’t you clean windows in direct sunlight?
Cleaning windows when the sun is shining directly on them might seem like a good idea, but it often leads to streaks and residue. Why? The heat speeds up the evaporation of your cleaning solution, leaving marks behind before you can properly wipe the glass.
For a spotless finish, aim to clean your windows on overcast days or during cooler times like early morning or evening. This way, the glass stays streak-free and gleams beautifully!
What’s the best way to safely remove tough stains from window glass?
To tackle stubborn stains on window glass safely, start by preparing a gentle cleaning solution. Mix 2 cups of distilled water with 1/2 cup of white vinegar. Generously spray or dab this mixture onto the stained area and let it sit for about 1–2 minutes. This will help loosen dirt and mineral deposits. Next, take a soft microfiber cloth and gently scrub the stain in circular motions. This technique lifts grime without risking scratches on the glass.
Once the stain is removed, rinse the glass thoroughly with clean water. You can use a fresh microfiber cloth or a spray bottle for this step. Dry the surface using a squeegee or a lint-free towel, working from top to bottom to avoid streaks. For the best results, try cleaning windows on a cloudy day or in the shade - this prevents the solution from drying too quickly. If the stain persists, repeat the process. Be sure to steer clear of abrasive tools or harsh chemicals, as they can damage the glass.